Peak Pro
Step 1
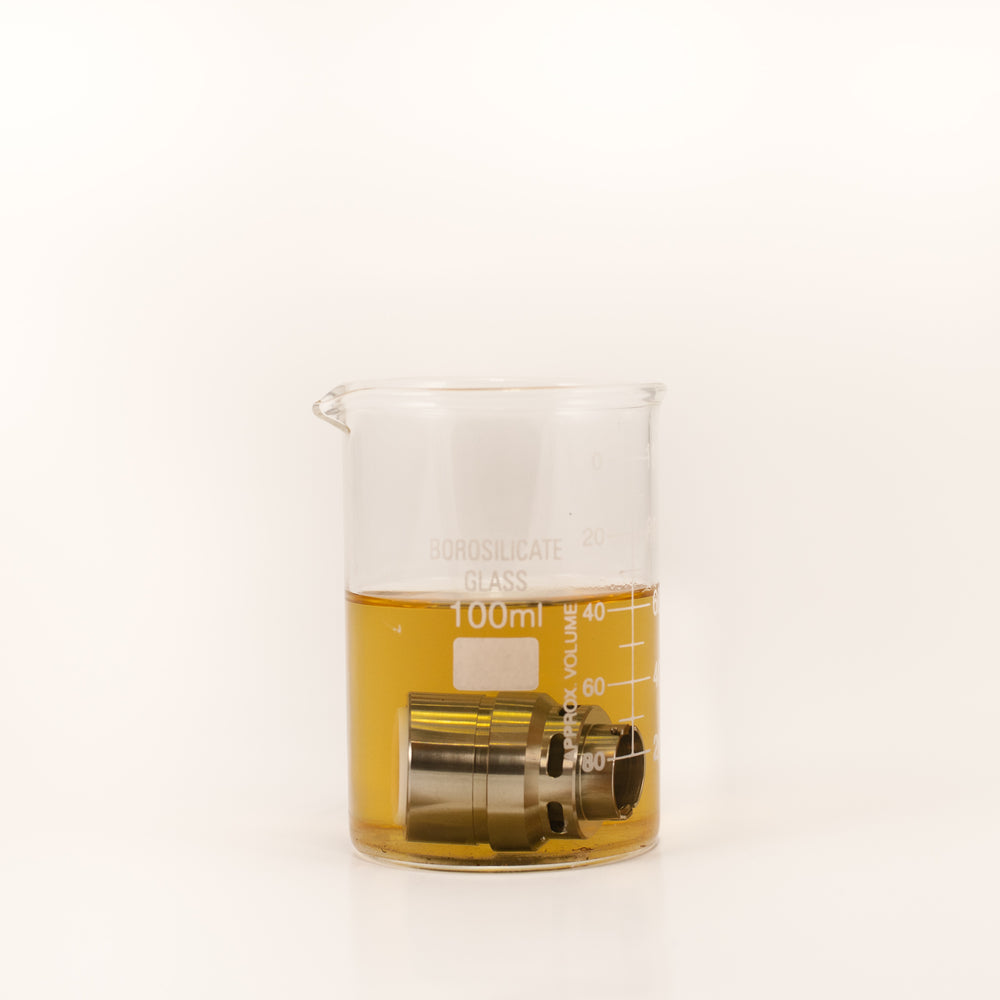
Soak atomizer in 99% isopropyl alcohol to remove any oil from inside the atomizer. Remove the atomizer from the alcohol and leave it for one hour to dry.

Step 2
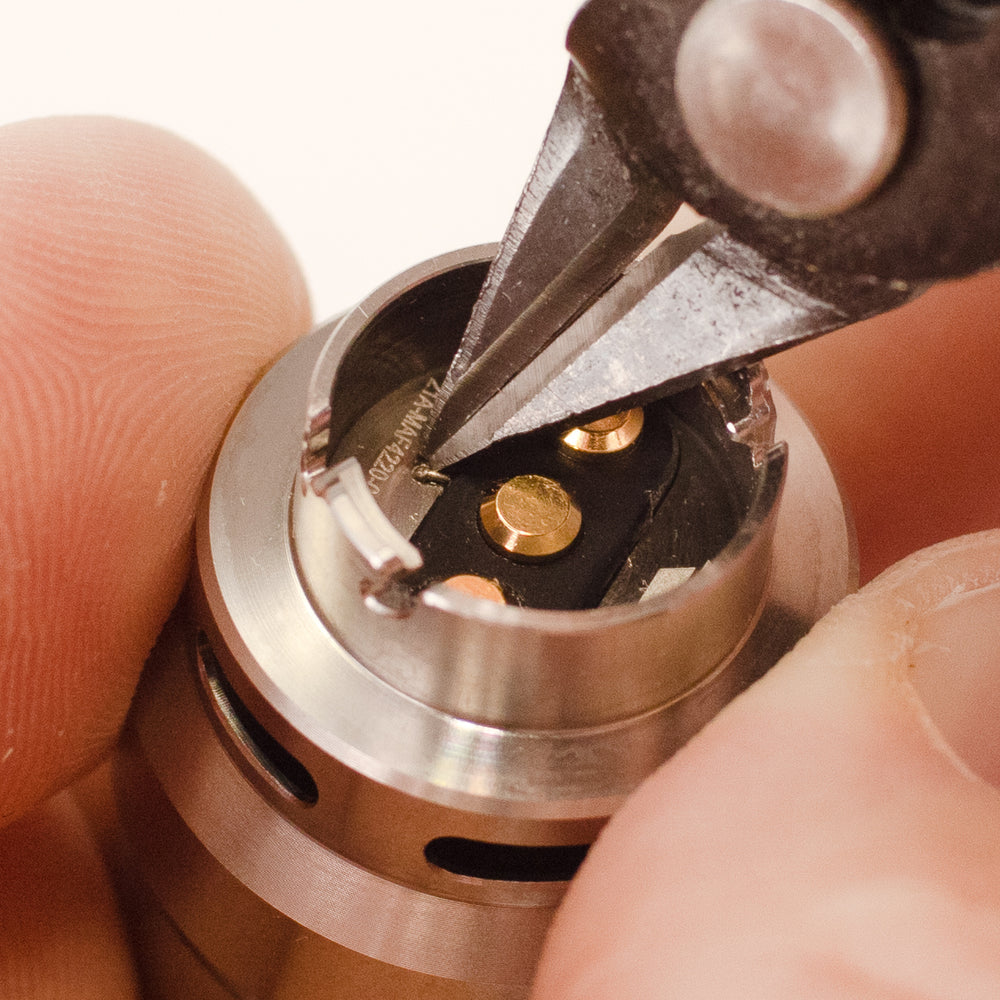
There is a wire welded on the bottom of the atomizer. Use the tip of the flush cutter to push the wire and break the weld.

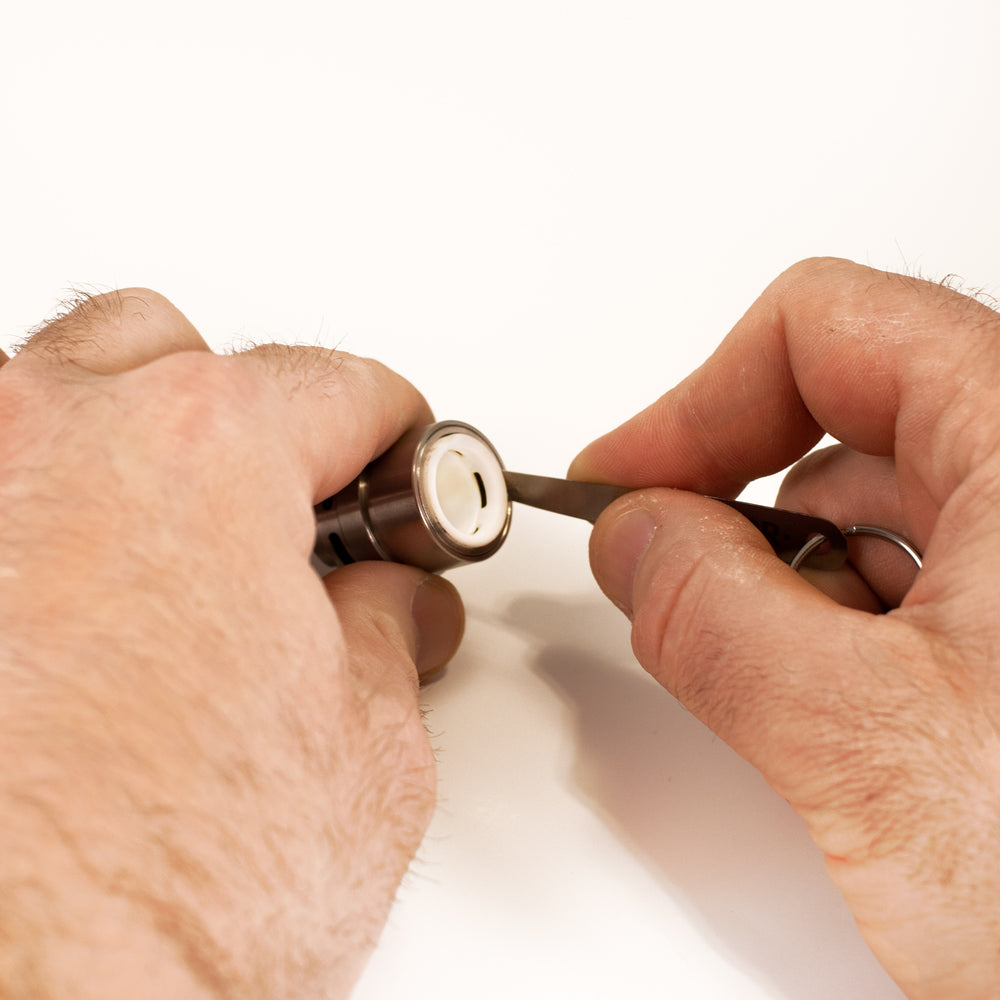
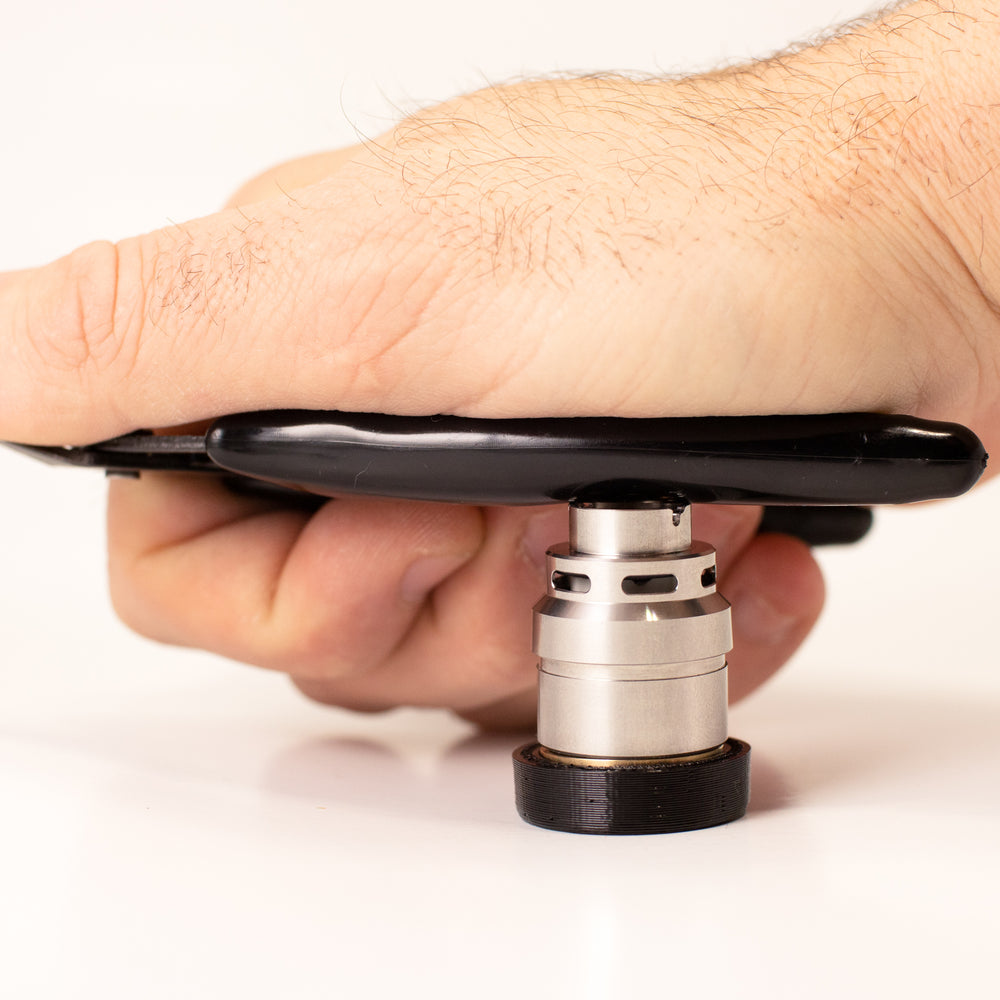
Step 3
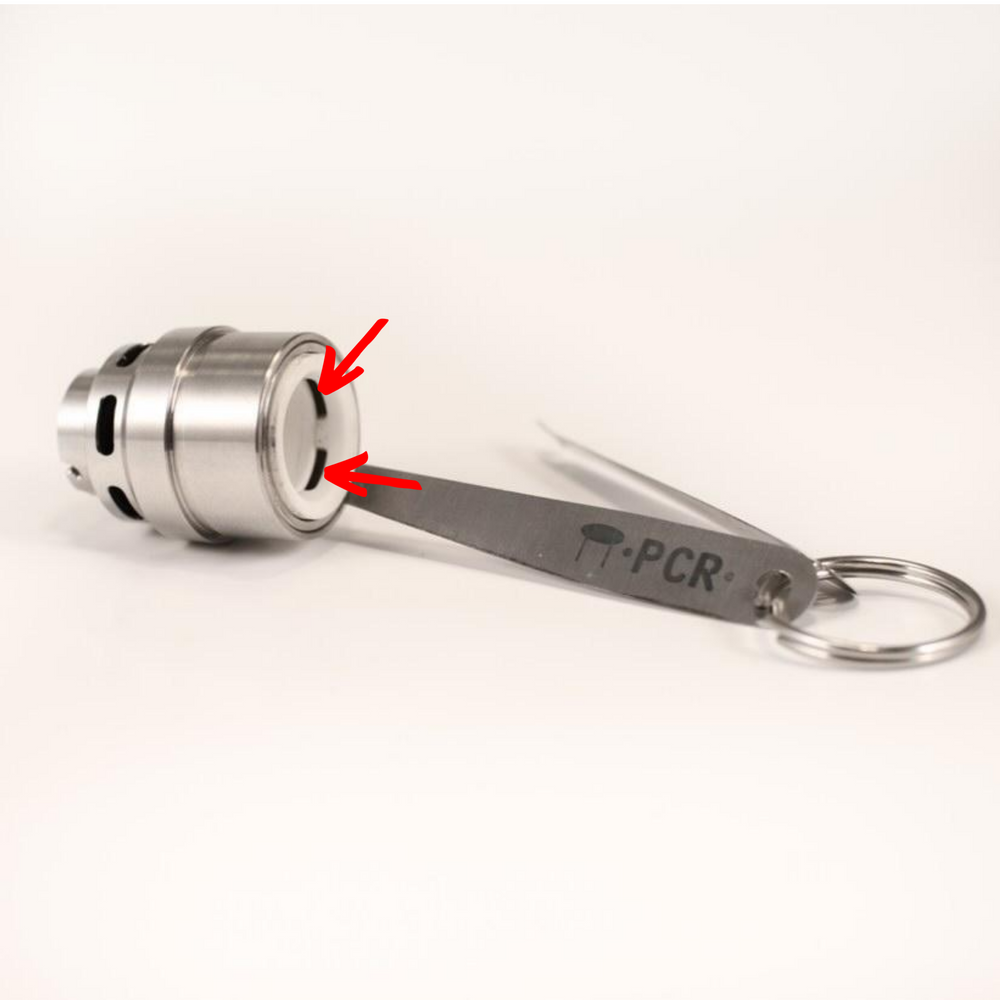
Push the Puff Coil Repair pick in between the ceramic ring and the metal ring. If there is room for a second pick, place it in the adjacent air path. The picks have to go in-line with the air paths marked with red arrows.

Step 4
You may need to move the pick in and out a couple times before you have a good lock on the ring. Once you feel the hook catch the metal ring, twist it slightly and pull back to make sure the pick is firmly locked. Hold the atomizer in one hand and while maintaining the slight twist with the tool, pull back gradually applying more force until the metal/ceramic rings pop out. If you have a really dirty atomizer and the alcohol did not fully clean it, you can apply some heat to the outer ring.

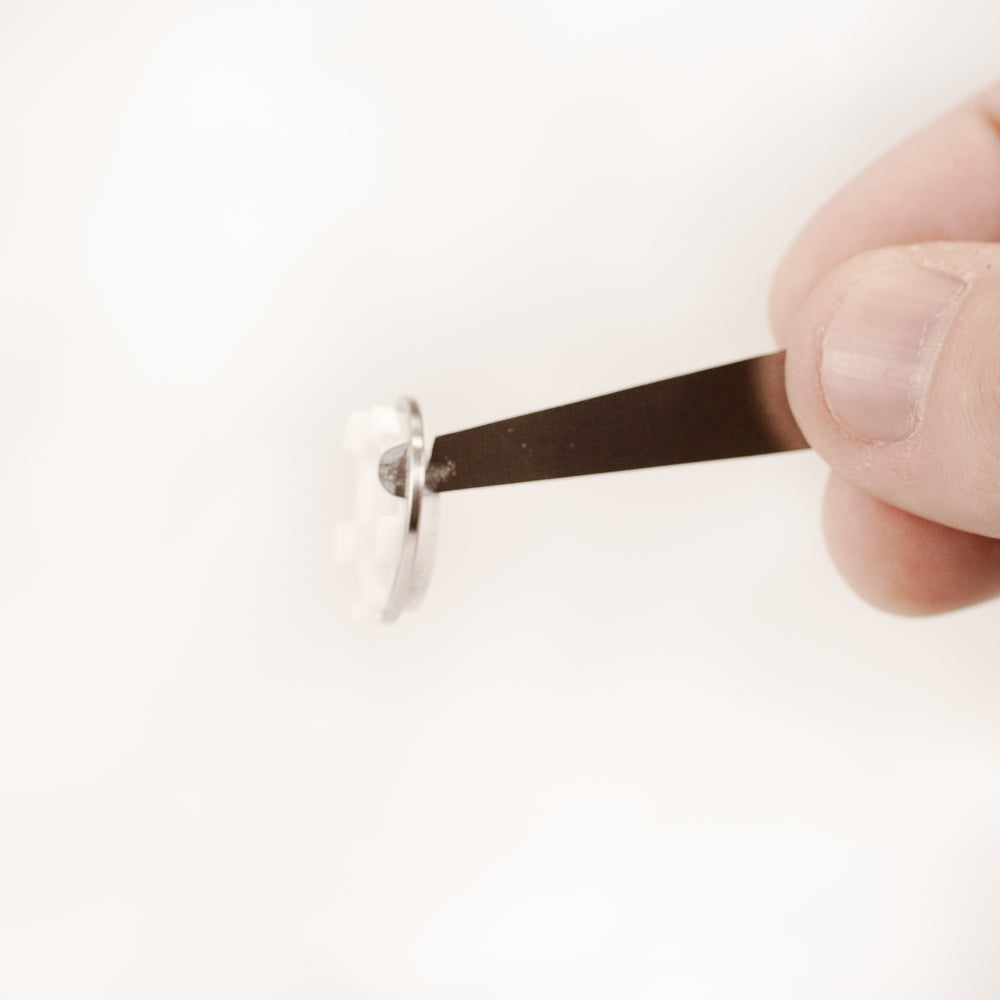
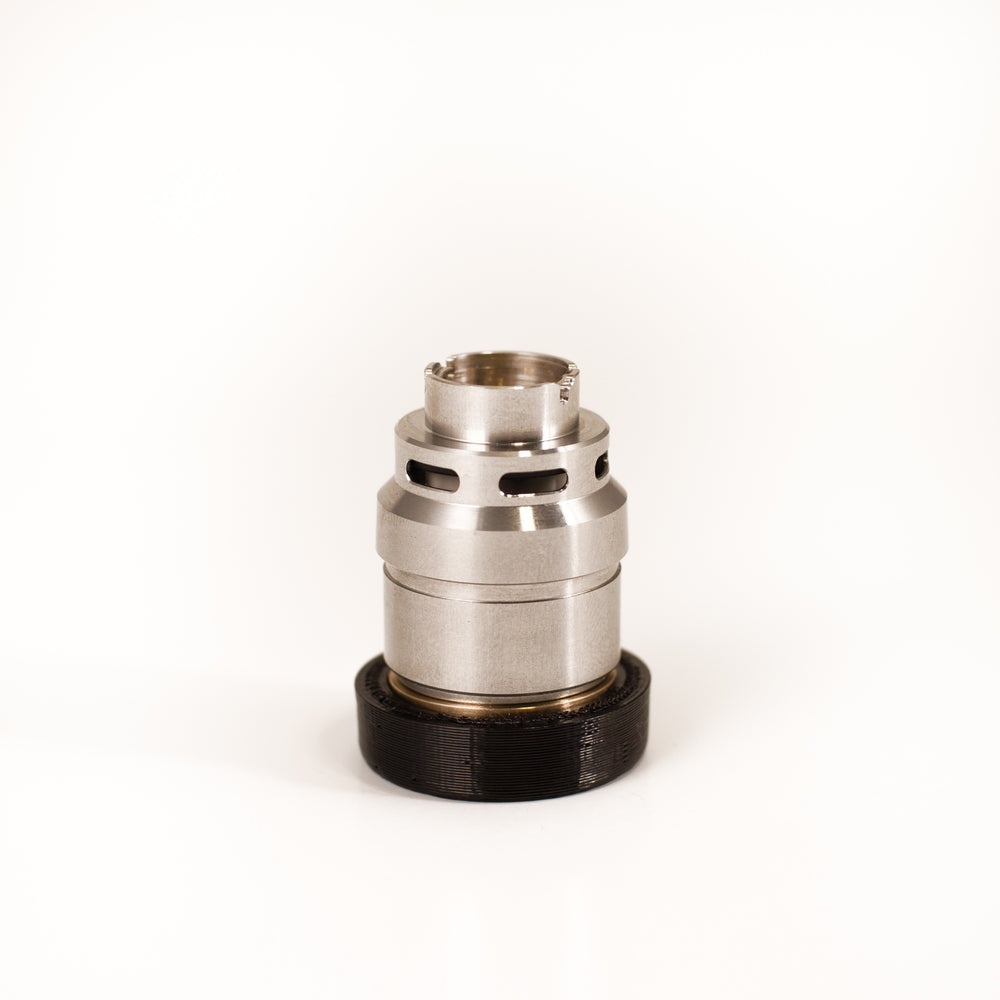
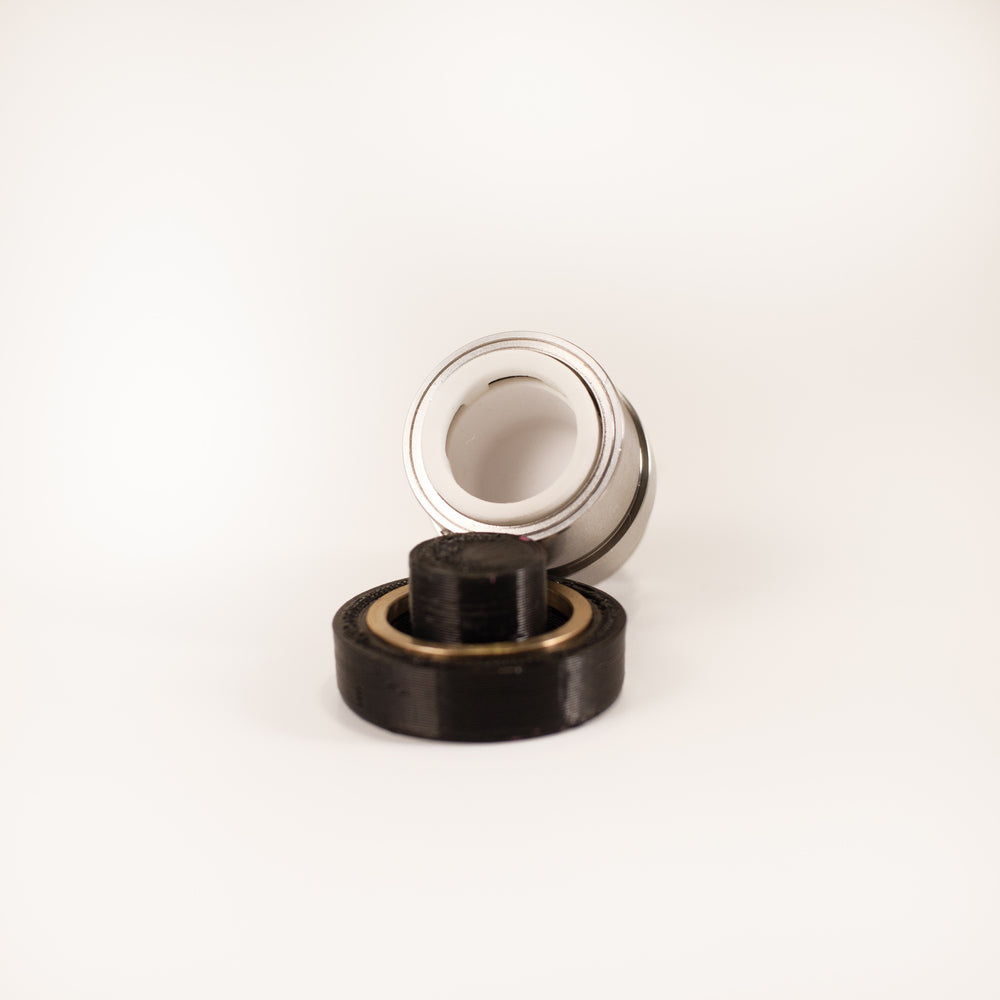
Step 5
For reference, this is the part of the metal/ceramic rings you are trying to latch onto with the PuffCoil Repair pick.

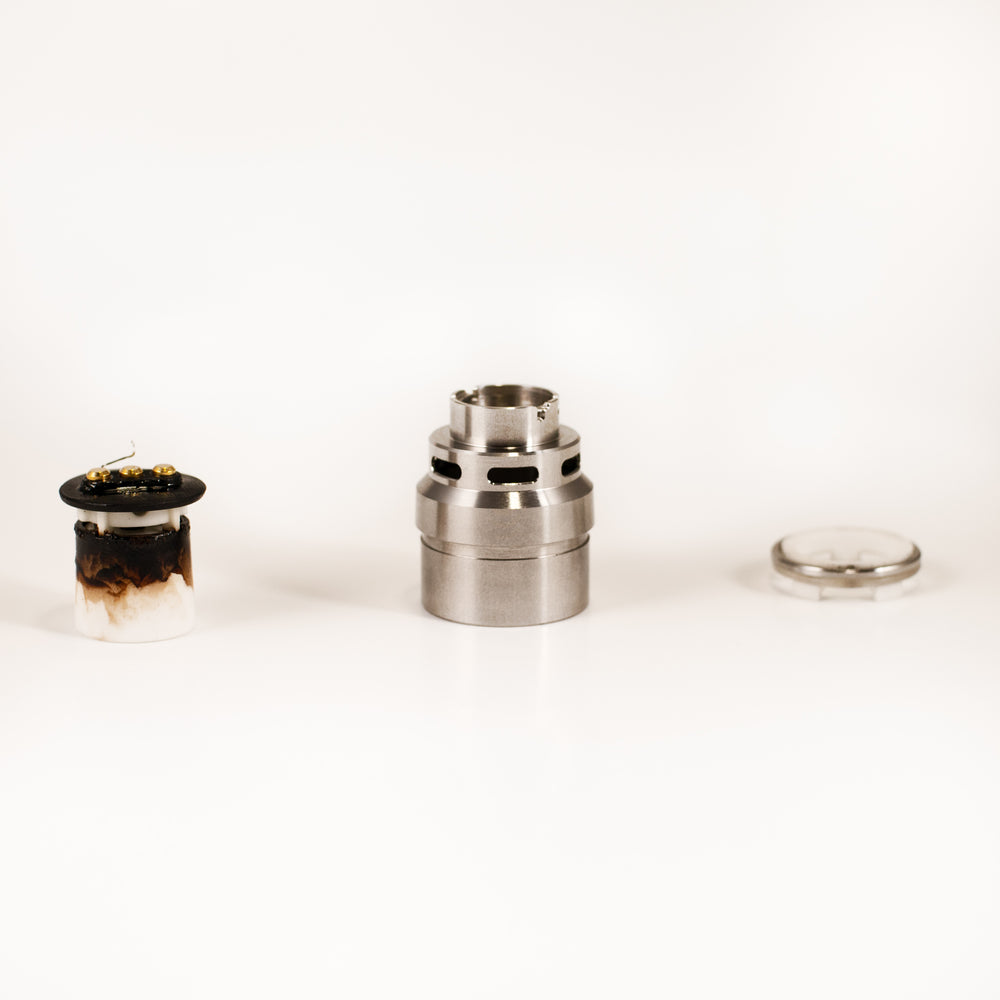
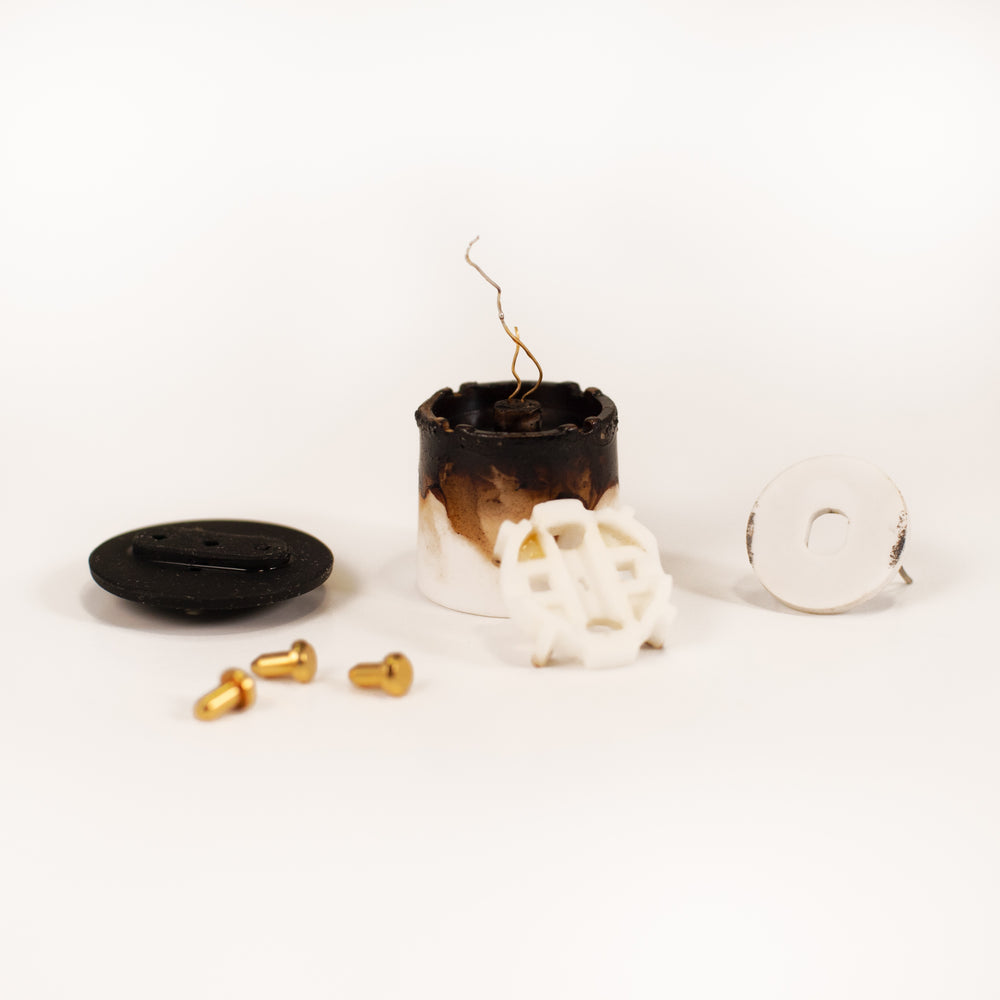
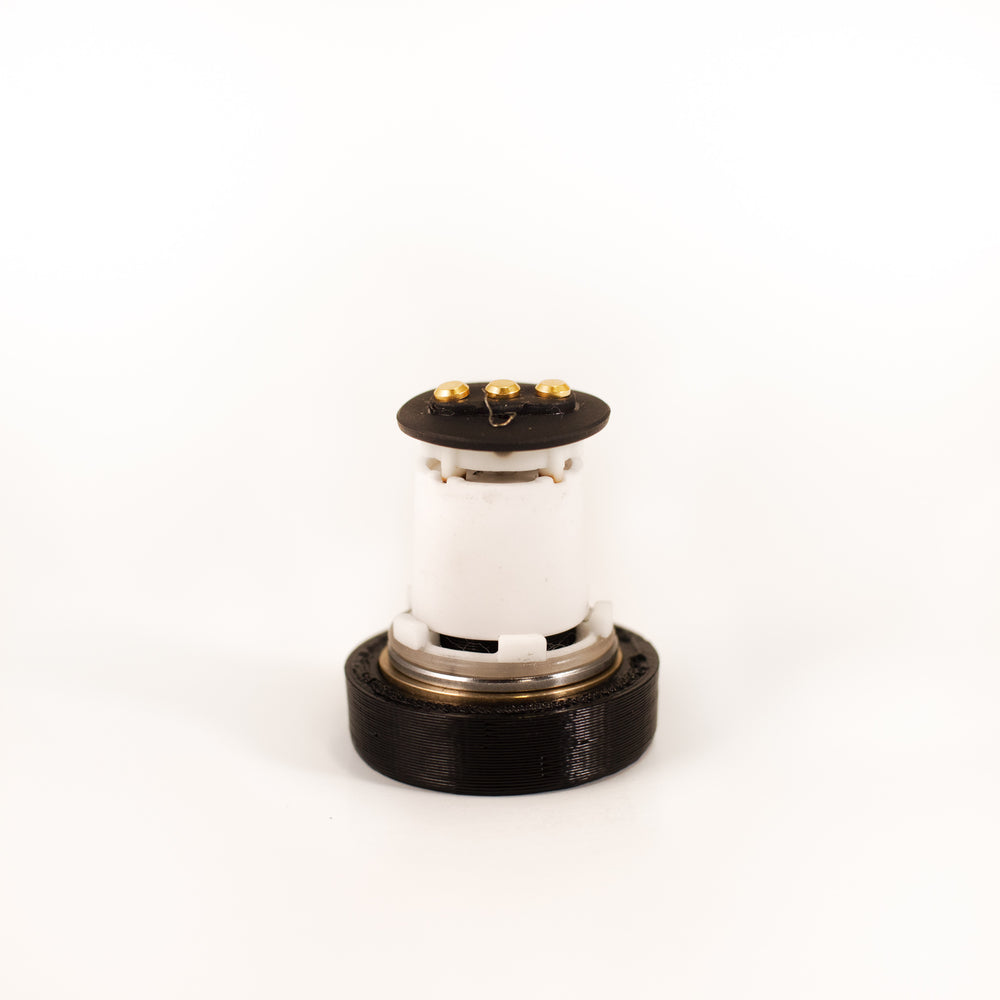
Step 6
Remove the insides ofthe atomizer. Be careful removing the insert assembly as the welded wire has a tendency to catch on the atomizer shell.

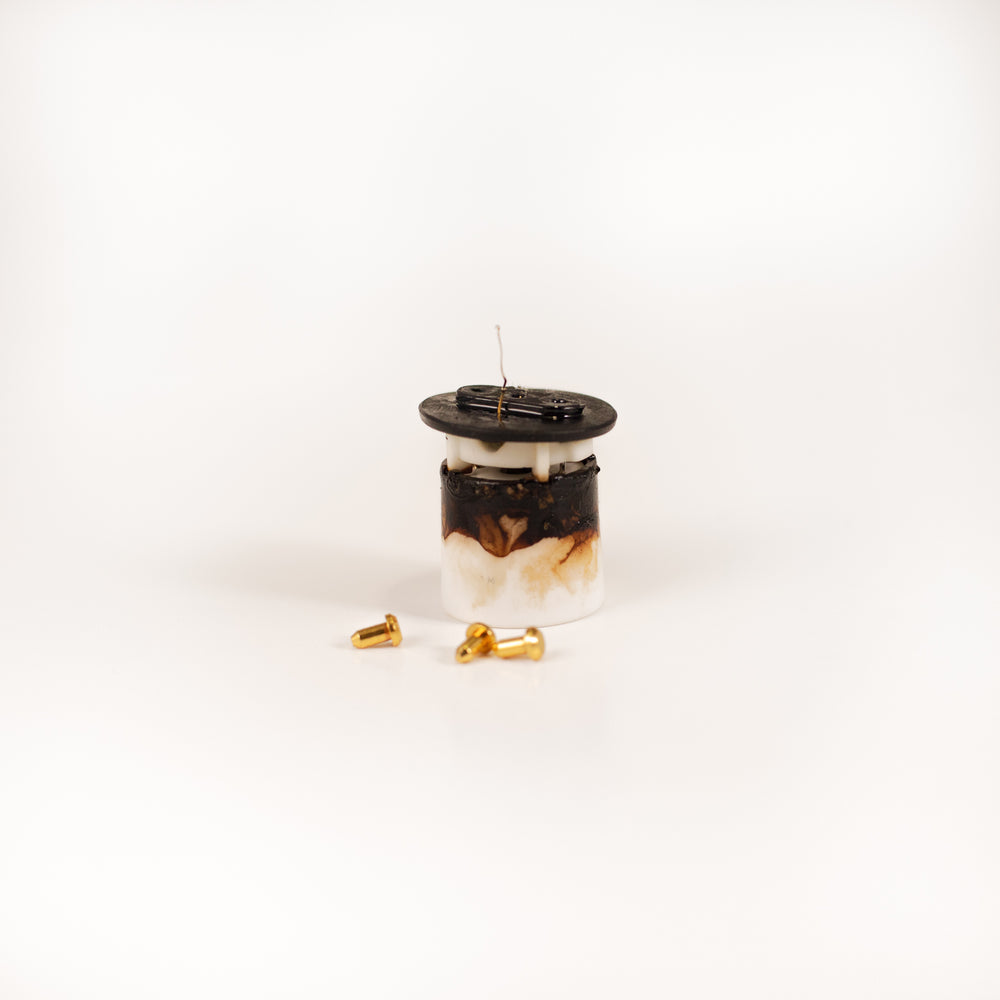
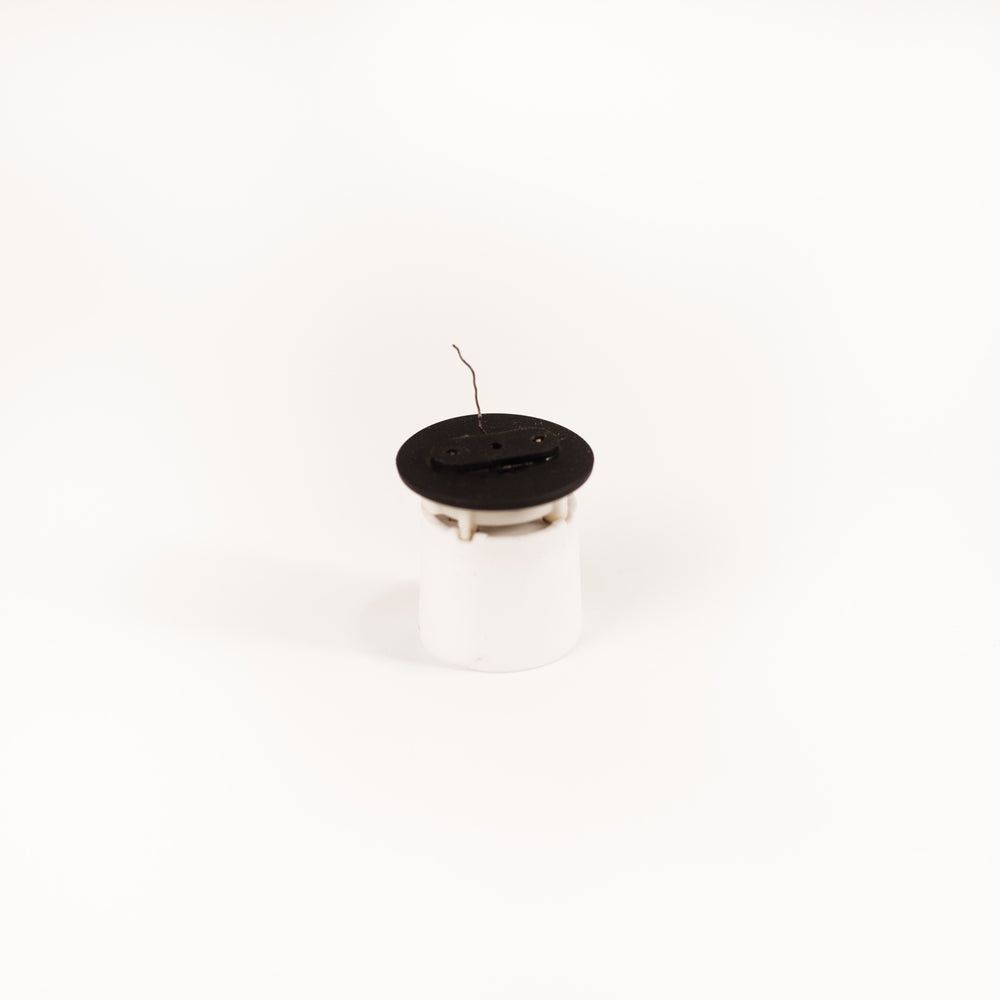
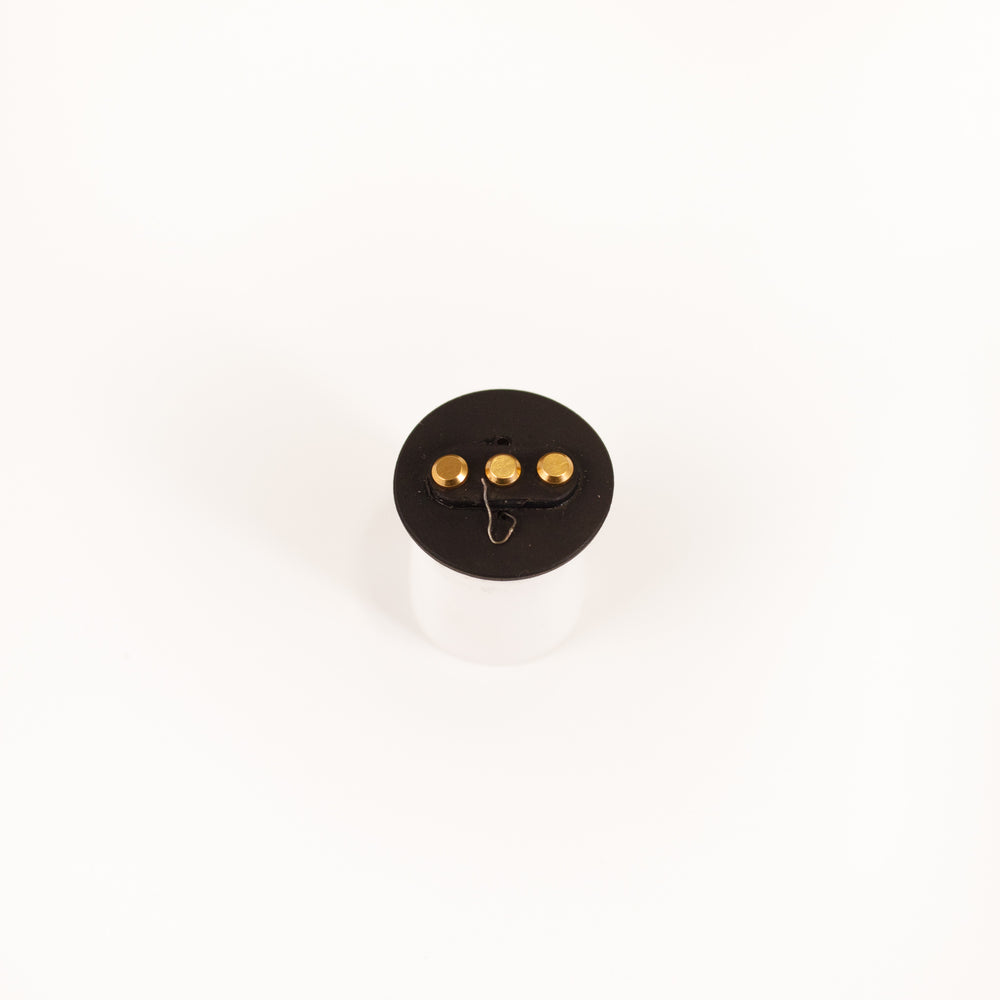
Step 7
Remove the 3 gold pins,they are press fitted and can be pulled out. Soak them in alcohol until any oil/residue is removed.

Step 8
Straighten the wire that was welded and remove the silicone insulator and ceramic spacer. Clean both of these with alcohol until oil/residue is removed. Do not use heat to clean the ceramic spacer.

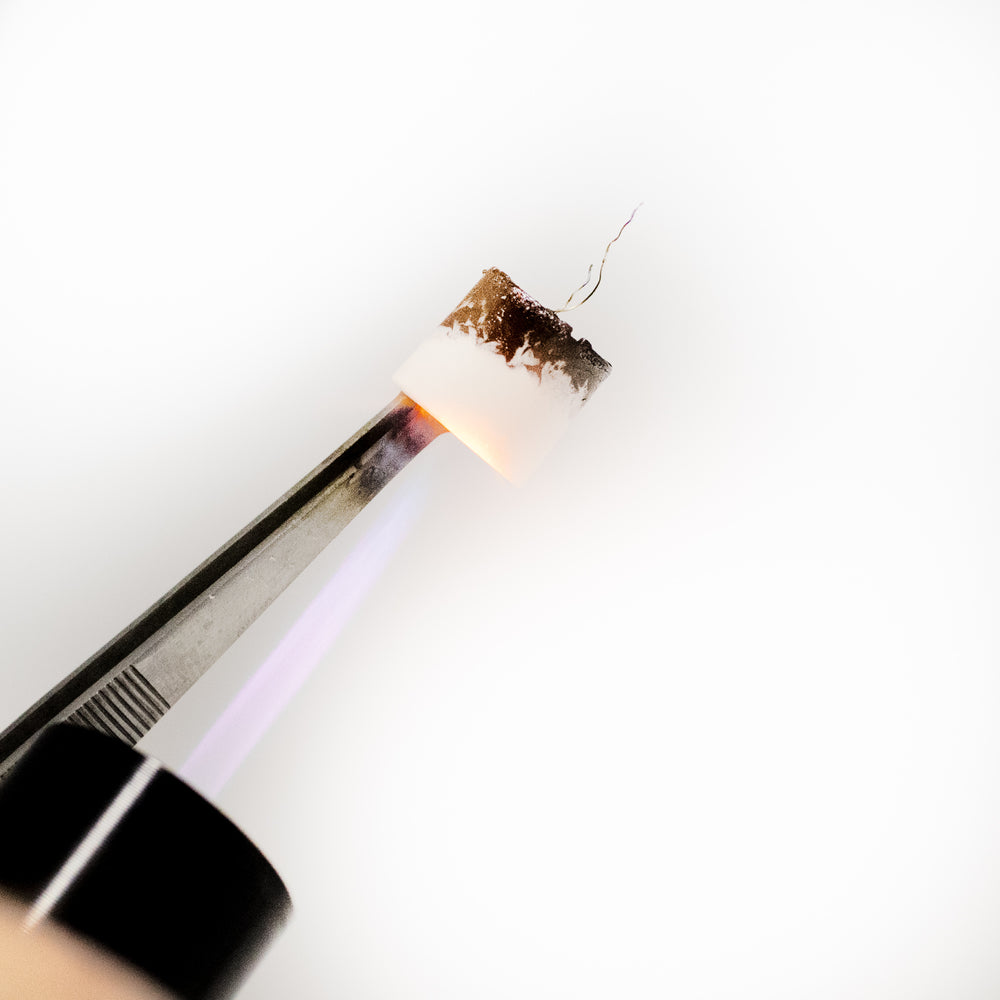
Step 9
I have been carefully torching my inserts clean without causing any issues to the thermistor. I use as little heat as possible and never touch the bottom of the insert with the flame. Be careful and apply heat at your own risk.

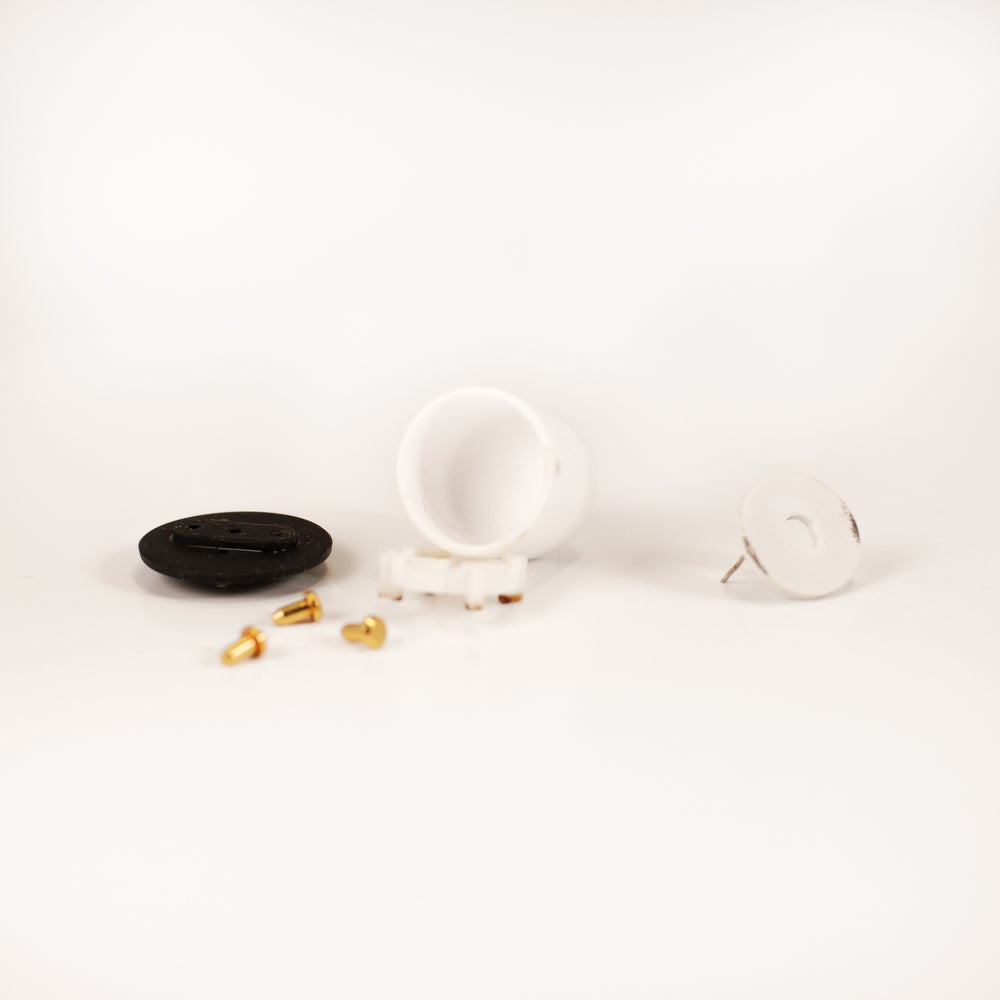
Step 10
Now that everything is clean and looking new we can start assembly.

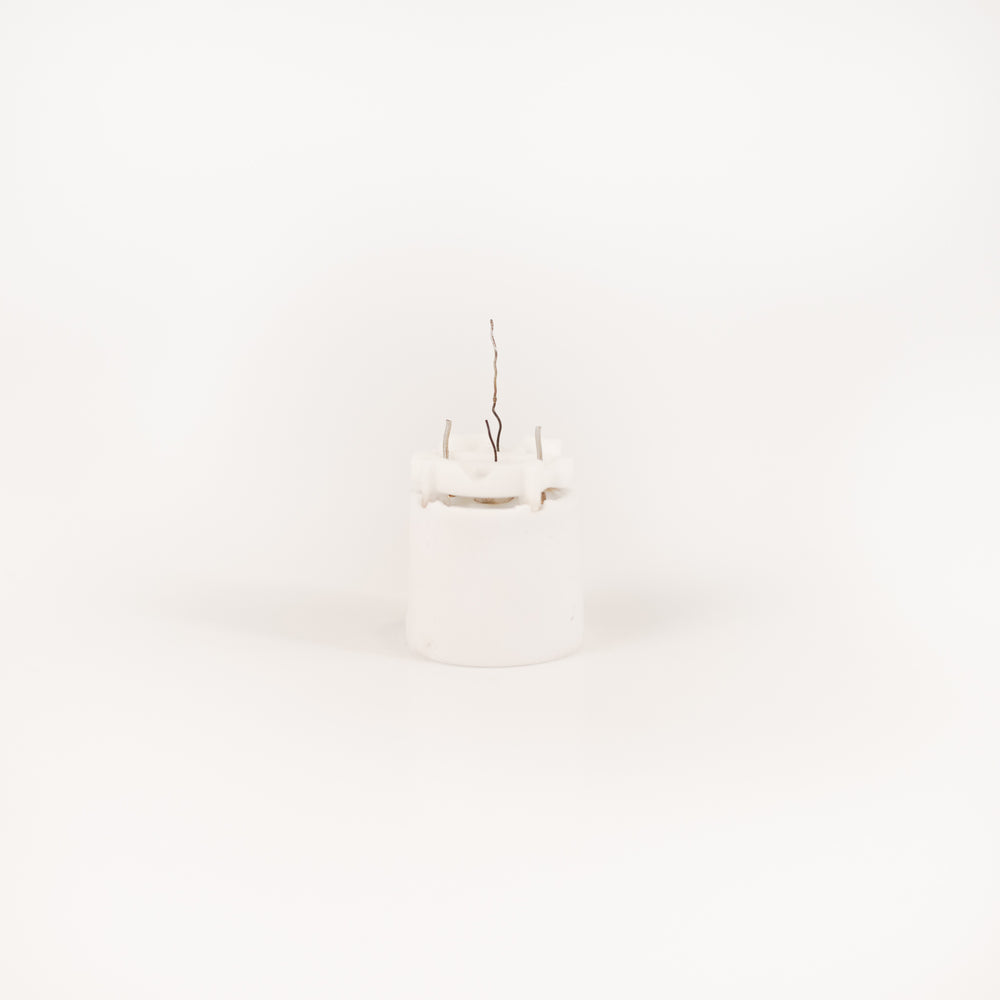
Step 11
Place the coil onto the insert with the thermistor wires in the center.


Step 12
Place the ceramic spacer over the coil. Make sure the wires are using the same holes as pictured. Pay special attention to the orientation of the ceramic spacer - there are small legs on the ceramic spacer that have to connect to the slots on the insert.

Step 13
Place the silicone insulator over the ceramic spacer making sure all 4 wires are in the correct holes.

Step 14
If you installed a new coil/insert, you will need to cut the 3 wires flush with the top of the silicone insulator. Push down on the silicone to keep it tight and push a pin into each of the 3 holes. The 4th wire needs to be made into a loop like pictured with 2-3mm sticking up past the raised section with the pins.

Step 15
Put the silicone O-ring onto ceramic ring then put the metal ring on top and put this completed assembly onto the PuffCoil Repair Pro Alignment Jig. Making sure the assembly is sitting flat like pictured.


Step 16
Place the insert assembly on top. Making sure it is sitting square.

Step 17
Put the metal atomizer shell over top of everything making sure to line the raised section with the pins up with the hole in the atomizer shell.

Step 18
Use the flush cutter to push down hard on the top of the atomizer. You will feel the metal ring click into place.

Step 19
Remove the atomizer and make sure the ring is even with the atomizer shell. If the ring is not sitting flat, place the atomizer back onto the alignment jig and apply force to the side that sits higher.

Step 20
Bend the welded wire back to the original position. Re-welding this wire is not necessary.